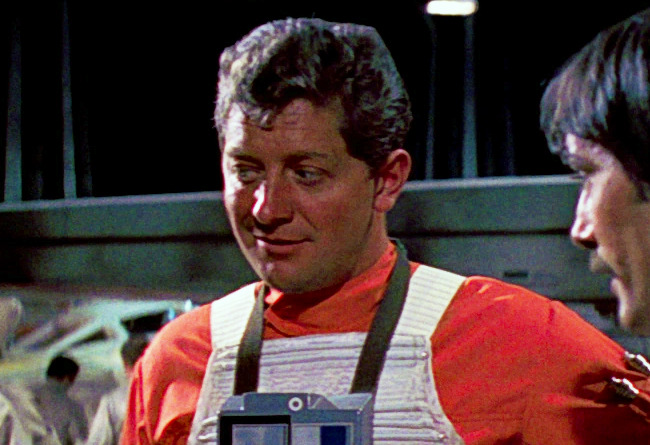
Name: Garven Dreis
Type: Alliance Wing Commander
Species: Human
Homeworld: Virujansi
Gender: Male
Born: —
Died: 0 BBY (1000 GC)
Hair Color: Brown
Eye Color: Brown
Height: —
Weight: —
Skin: Light
DEXTERITY 2D
Blaster: 4D
Dodge: 3D
Melee Combat: 3D
Melee Parry: 2D+2
KNOWLEDGE 2D
Planetary Systems: 2D+1
Tactics: Starfighters: 2D+2
MECHANICAL 3D+1
Starfighter Piloting: 5D
Starfighter Piloting: Z-95 Headhunter 6D+1
Starfighter Piloting: X-Wing 6D
Starfighter Piloting: Y-Wing 5D+2
Starship Gunnery: 5D
Starship Shields: 4D
PERCEPTION 2D+2
Command: 2D+1
STRENGTH 2D+1
Brawling: 3D
TECHNICAL 2D
Computer Program/Repair: 3D
First Aid: 3D
Starfighter Repair: 3D+2
Special Abilities:
None
Force Sensitive: N
Force Points: 2
Dark Side Points: 0
Character Points: 10
Move: 10
Equipment: Blaster Pistol (4D), Comlink, Sealed Flight Suit.
Background: Garven Dreis was born on Virujansi before the Clone Wars. During the conflict, he became well-known and joined the Virujansi Rarified Air Cavalry defense force on his home planet. When the Galactic Empire took over, the ruling Virujansi council was replaced by an Imperial governor. This led to the local military forces loyal to the council being disbanded. Dreis’s commanding officer, Antoc Merrick, rejected an offer for pilots to join the Imperial Navy because he felt it was insincere. After observing the Rebel Alliance’s superior unit coherence and pilot skills, Dreis and Merrick retired early left Virujansi, and joined the Rebel Alliance.
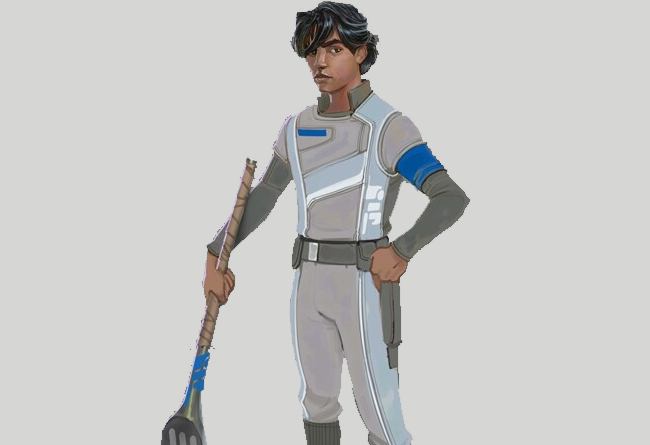
Sometime after joining the Rebel Alliance, Dreis attained the rank of Commander and was given command of Red Squadron. As Red Leader, Dreis flew a mix of starfighters, that ranged from Aggressive ReConnaissance-170 starfighter to the T-65B X-wing starfighter.
Before the Battle of Yavin, Dreis was stationed at the Alliance’s base on Dantooine. However, he was later transferred to the Great Temple on Yavin 4. Before 0 BBY, Dreis was assigned to Shift Cycle 1 of an X-wing flight patrol mission. He was to fly alongside Major Ralo Surrel (Red Eleven) from Yavin to Gordian Trace Relays. Their mission was to conduct a flyby of the nearby space, verify visual and sensor clearance, and perform a close uplink of passive relay recordings.
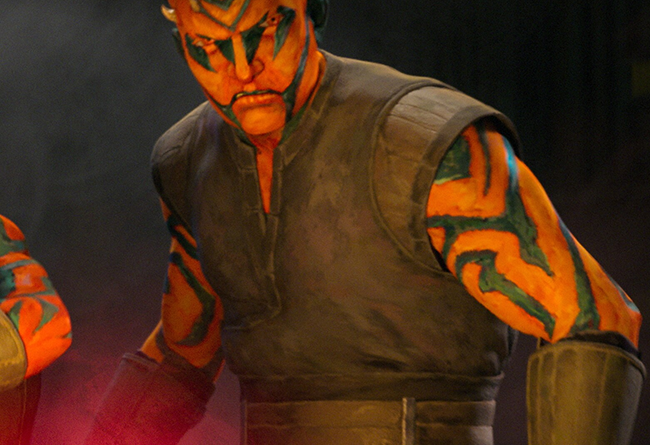
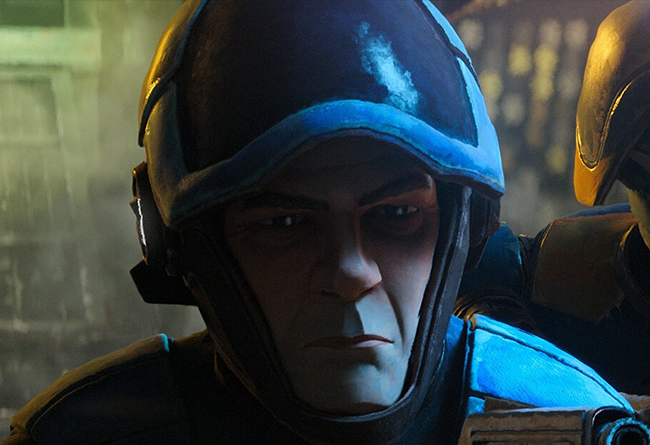
During the Rebel Alliance’s mission to obtain schematics for the Empire’s Death Star on the planet Scarif, 0 BBY led Red Squadron. They were tasked with protecting the Rebel capital ships alongside Gold Squadron, a group of Y-wing bombers. Meanwhile, Blue Squadron was ordered to protect the infantry on the surface of Scarif. Dreis’ fighters engaged in battle with the large TIE fighter detachment guarding the Scarif Shield Gate. These actions were all part of Admiral Raddus’ plans during the early phase of the engagement.
Dreis led a group of X-wings, which included Red Eight and Red Twelve, in multiple proton torpedo bombing runs to try and break through the Scarif gate’s shield. Gold Squadron also attacked the aperture itself. However, even with their consistent bombardment, the Rebel ships were unsuccessful in penetrating the strong Imperial shield.
During the attacks, the TIE fighter group intercepted the Rebel fighter and bomber forces, which included Dreis’ squadron. Dreis admonished Pedrin Gaul, a cadet who was serving in the squadron and using the name Red Five, for separating from the main group. Even though Dreis instructed Gaul to come back, he was shot down, along with other members of the Red Squadron. Dreis survived the battle at Scarif, and his pilots played a significant role in the Rebel Alliance’s victory in this mission.
Following their costly victory over Scarif, Dreis and his remaining pilots were summoned by General Jan Dodonna to a briefing at Base One. Rebel sympathizer Princess Leia Organa of Alderaan had taken possession of the plans for the Death Star battle station during the battle, but briefly fell into Imperial custody. The plans were secreted within the droid R2-D2, which eventually found its way to Tatooine moisture farmer Luke Skywalker. Organa’s message to Skywalker led him to Obi-Wan Kenobi, a hidden Jedi. Skywalker then hired Han Solo, a Corellian smuggler, to help rescue Organa from imprisonment and return the plans to her. However, Kenobi was killed shortly before their group escaped the Death Star. They fled in Solo’s freighter, the Millennium Falcon, but it was tagged with an Imperial tracking device. The Death Star and its ruthless commander, Grand Moff Wilhuff Tarkin, were able to locate the Rebel stronghold on Yavin 4 and arrived shortly before the briefing.
Most of those gathered, including Dreis, were doubtful that the small number of fighters left could make a difference against the Death Star. But Dodonna clarified that there was a significant weakness in the station’s design – a thermal exhaust port that was only two meters wide. By firing a proton torpedo down this shaft, it would hit the main reactor, leading to a critical malfunction and the destruction of the Death Star.
As Dreis returned to the hangar, he encountered Skywalker. The latter had offered to join the squadron and help increase their numbers. Initially, Dreis had doubts about Skywalker’s ability to pilot a spacecraft. However, Biggs Darklighter, who was already a pilot under Dreis’ command and a childhood friend of Skywalker, assured Dreis that Luke was an exceptional pilot. According to Darklighter, Skywalker was the best bush pilot in the entire Outer Rim Territories. Dreis was convinced and assigned Skywalker to the position of Red Five. This position had become vacant after cadet Pedrin Gaul’s passing over Scarif.
The Y-wings, led by Captain Jon Vander, quickly took off from Yavin 4 and headed towards the Death Star. Along the way, they checked their readiness and communicated with each other. As they approached the trench and their target, they encountered heavy resistance from the turbolaser batteries and deflection towers on the battle station’s surface. The X-wings provided cover while the Gold Squadron bombers attempted the trench run in groups of three. However, the rebel ships were quickly outnumbered by TIE fighters pouring out of the Death Star’s hangar bays, resulting in the early runs being completely wiped out.
A powerful figure known as Darth Vader, who held the title of Dark Lord of the Sith, arrived at the station in a TIE Advanced x1 to defend the Empire. He engaged in dogfights with multiple members of Gold Squadron and subordinates of Dreis in Red Squadron, resulting in their deaths. Despite the danger, Dreis, Theron Nett, and Puck Naeco attempted to maneuver through a trench.
Even though Vader shot down both of Dreis’ wingmen, Dreis managed to reach the end of the trench and launch two proton torpedoes at the exhaust port. However, he was disappointed to discover that his torpedoes missed their intended target and only hit the surface. While exiting the trench to regroup, Vader targeted Dreis. Skywalker spotted the Imperial fighters and offered to assist Dreis with another trench run, but the squadron leader declined, citing damage to his starboard engine, and instructed Skywalker to make the run himself. Dreis led Vader away from the trench as far as possible before the Dark Lord successfully shot him down. Dreis’ X-wing crashed into the surface of the Death Star, resulting in his death and a final defiant yell.
Appearances: Rogue One, Episode IV: A New Hope